 The area was not very large; I even had to trim the carpet back a bit to fit a 3' x 5' backer-board.
 The backer-board did fit perfectly when I laid it. I was also lucky the front door has a good amount of extra clearance so I didn't have to cut out the hardwood under the peel-and-stick tile.
 Laying the tile out and grinding down the diagonal edges to fit the mosaic tile in the center while maintaining the grout line width took the most time.
Placing the tiles went smoothly and quickly, with the exception of running out of the thin set and having to run to two stores to find more. Other than that, and having a little squeeze up through the center mosaic section, setting the tile was quite easy.
 I was able to lay the outer mosaic border before dinner that night...
 With the final outer layer of tiles being laid later that night.
 After grouting on Monday night, the finished product looks pretty nice.
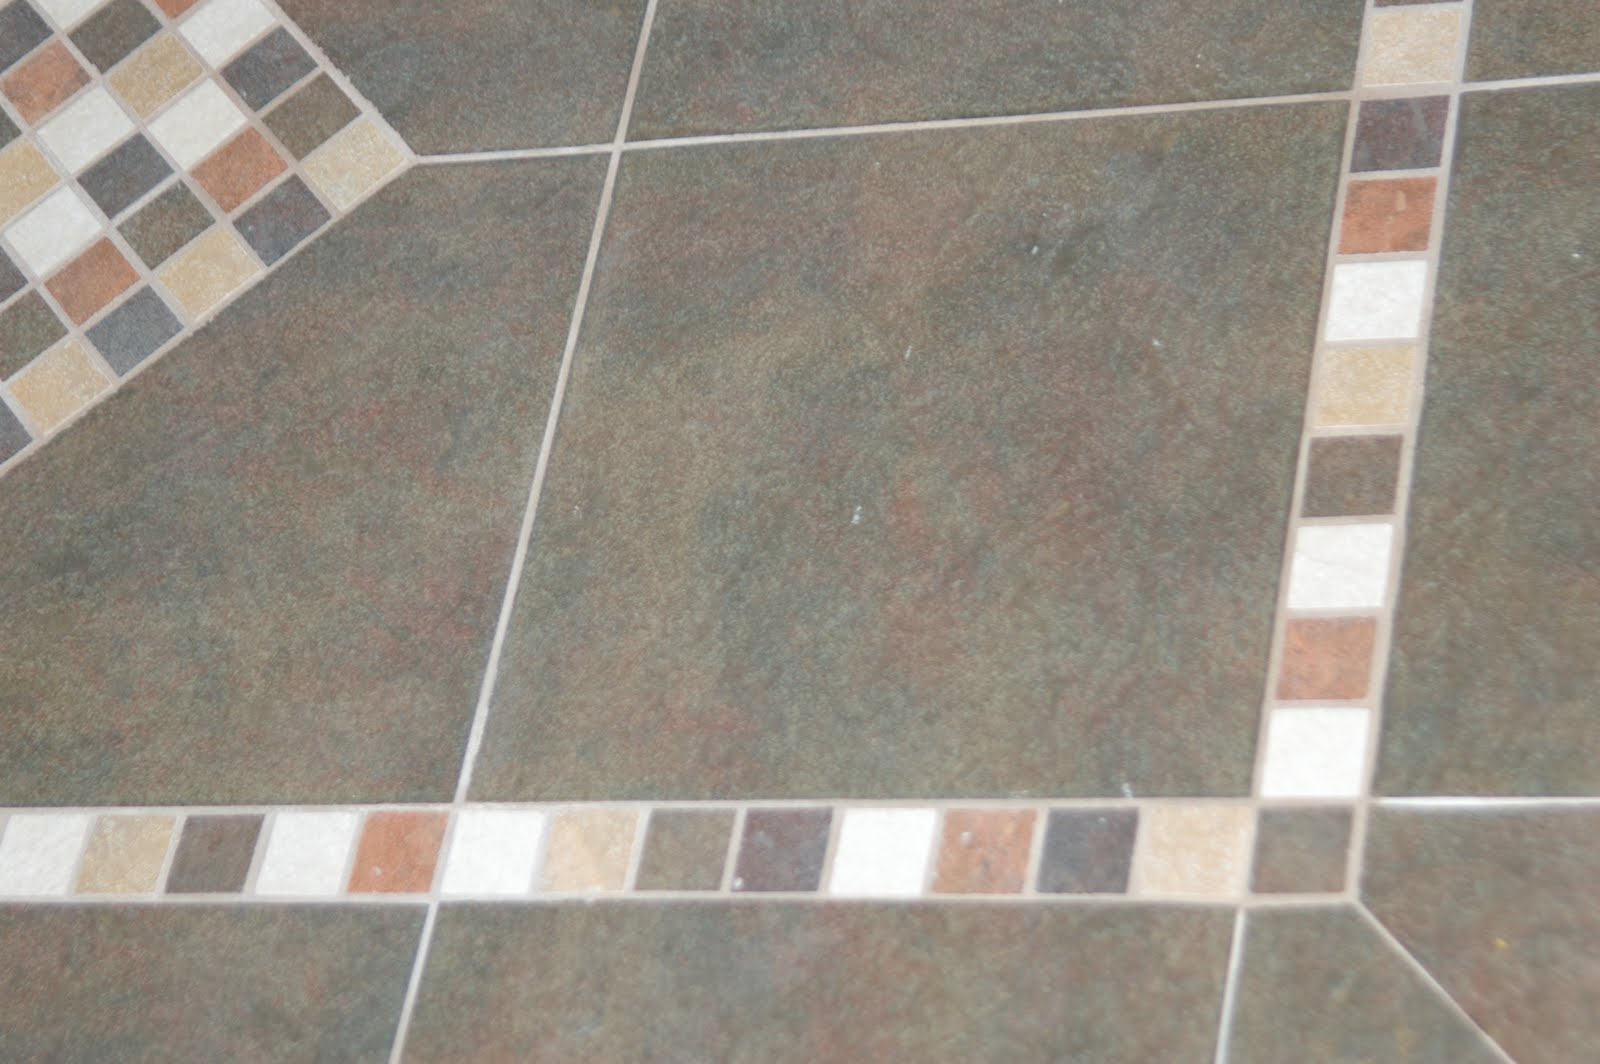 Some of the grout lines aren't perfect regarding consistent width...
 ...but Carolyn and I think the center mosaic feature turned out especially nice!
Thanks for taking the time to look. The relative ease of this project has made Carolyn more confident of my ability to tile larger rooms in the future. This will probably not occur for some time, but tiling rooms of a house is a relatively easy way to boost the appeal of a house, and you definitely can save some money by doing it yourself.
No comments:
Post a Comment